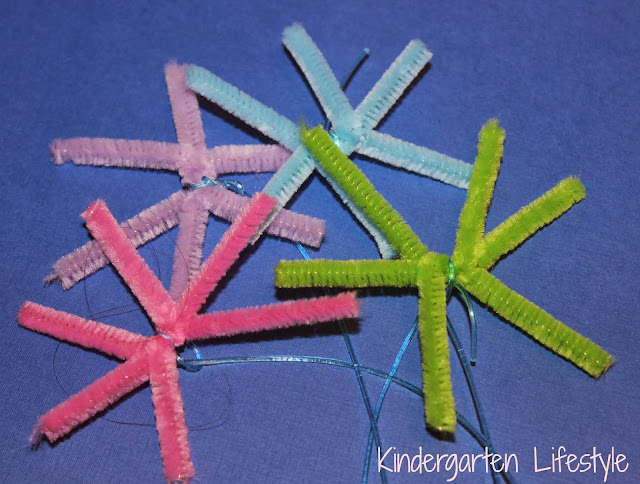
Yesterday I found this post on Steve Spangler Science all about how to make crystal snowflakes using just Borax and boiling water.... simple enough, huh? Plus, I found this really short and easy to understand video.... I was all set!
A couple of tips:
1. Use pipe cleaners of several different pastel colors. I sent my husband and teenage son to Walmart to get pipe cleaners......they came back with red. Yeah, because red totally screams winter snowflakes. {Sigh} If you want it done right, you gotta go do it yourself. So, I made a trip to Michaels and found some beautiful pastel blues, green, purples......
2. Buy the wooden dowels. I tried to make due with pencils.... they weren't long enough. Again, another trip to Walmart.
Once I had the things I needed, this project was super easy!
Materials:
- Borax Laundry Booster
- Pipe Cleaners (I used white and pastel blue, purple, green)
- String
- Wooden dowel
- Large Container
- Boiling Water
- Scissors
Directions:
1. Cut a pipe cleaner in thirds. Take those three pieces and twist, twist, twist. Pull the 6 arms of your snowflakes out straight. Bam! That's it!
2. Tie a string to each snowflake. You will then tie the other end of the string to the wooden dowel.
3. Drop them in wide pan. I used a boiling pot. The wooden dowel sits across the top of the pot.
4. Let them sit over night. In the morning, you will see what happened!
Here are the finished crystals! Oh I totally love these! They look so cold (but they aren't)....just beautiful crystals. They are hard too.... Reagan was fascinated with holding these up in the sun to watch them shine even more.
The thing I really loved about this project is after dipping the snowflakes in the solution, you just leave them alone. Don't even bother looking at them until the next morning. You will be pleasantly surprised by your beautiful crystal snowflakes.


This looks like SNOW much fun. I'm pinning this to save for my solids & liquids unit for next year. :)
ReplyDeleteCasey
Second Grade Math Maniac
Love this! Thanks for the details! :)
ReplyDeleteI absolutely love this! I have never seen these before. Now to ask the ladies in the cafeteria if they are willing to boil some water for me. I also need to remember this for next year as a Christmas ornament! Thanks for sharing :)
ReplyDeleteThis looks like such a great idea.. how much soap do you put in the pan? And will this amount work for 30 snowflakes?
ReplyDeleteI made these last night!! Thanks for the post :) The only thing is, how do I get the crystals out of the bottom of my mason jars? They are all caked with crystals. I am hoping soaking them in hot water helps, but not so far :) They came out beautiful and I will be making them as favors for my son's Snow themed birthday party this month!! :)
ReplyDeleteAimee Farrell
mykindergartendream.blogspot.com